


“Connecting to an (Azure) database from within Databricks using revoscalepy by deploying Microsoft’s Machine Learning Server”. I am sure that I am not the first guy typing this line into a search engine, and I’m very sure that I won’t be the last neither. The real power of Python resides in the flexibility of the language and the power of its data frames and the agility to play with data in a very easy way.
I made a very useful ELT program in python and wanted it do run inside a Databricks cluster. Databricks on Azure fully supports python 3 so I thought I was up for a walk in the park. Trying to import the database connection classes already gave a small hint of the troubles ahead.
The easy part was to create the workspace, once you have created the Databricks environment, it’s easy to create a new environment by clicking the Launch Workspace button:
Because I am creating my workspace for a rather simple purpose, I create a very simple cluster with limited resources.
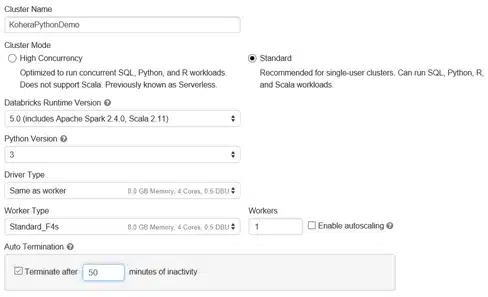
For the purpose if this demo, a F4s will largely be sufficient, as it has 4 cores and 8GB of ram. Autoscaling will not be needed, and the cluster can easily destroy itself after 50 minutes of inactivity. (This is a demo anyway)
Spinning up a simple cluster like this also has the advantage that it goes fast, and I don’t need to drink 5 cups of coffee before I get my resources (I only needed 1 <Evil Grin>)
Once the cluster is available, we can now create a new notebook. To create the notebook, click on the Azure Databricks button
![]()
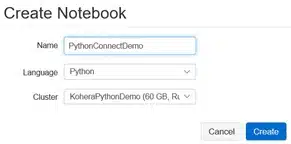
Here you can select, New Notebook
![]()
Make sure you connect to your newly created cluster, and the language is on Python
This opens your workbook, and now we are in our Python workspace.
It is here that I started to get some worries almost everything that I could find about working with Azure Database involved JDBC, and somehow I couldn’t get them working as I wanted.
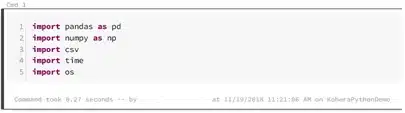
Importing the base libraries, work like a charm, loading as we expect, and working just great
Once I started to load, my favorite SQL libraries, like RevoScalePy for example, it’s not loaded.
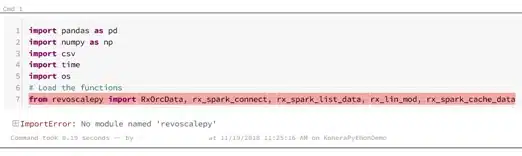
My first (and obvious) guess was to look for an instruction how to load revoscalepy on Databricks.
For reasons unbeknownst to me, this instruction doesn’t exist, neither on the Databricks pages, nor on on the Ravoscalepy pages.
Ok bummer…
But this never stopped me before, so why would it stop me now…
First thing that we can now (ab)use is knowing what platform Databricks is built on. This is well documented on docs.databricks.com
Because we created a Databricks 5.0 environment, we now know that we are essentially running with the following important actors:
But most important of all this piece of information:
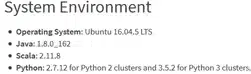
Ok great, we are running on Ubuntu 16.04, time to dust off those Linux Shell skills (always knew they would come in handy sometime) and there is an installation manual for Ubuntu and Revoscalepy Yay!
The easiest way to test your shell scripts before turning them into a initialization script, is to run them from inside your notebook.
Adding the %sh command, puts your notebook in shell mode, it’s now a graphical linux shell.
Ok now let’s get cooking, Ubuntu’s default package manager is apt, so let’s start
Let us first update the package manager and it’s repos.
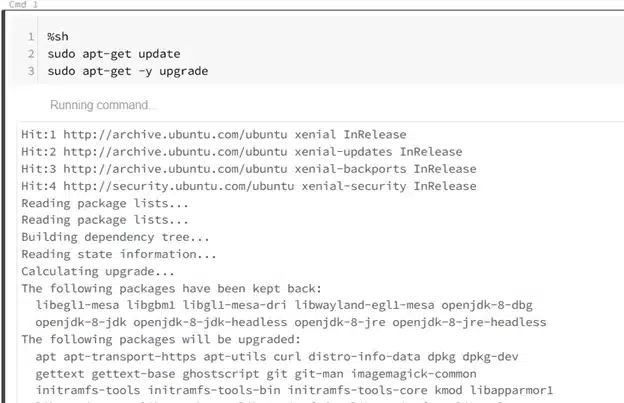
Woot, this works!
Now let us try Microsoft’s installation manual, I just made some minor adjustments so that it could run in this shell environment
Installing the package:
And then… Bummer
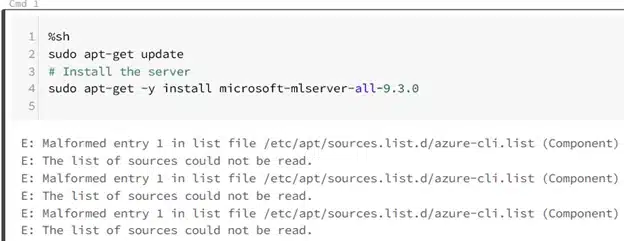
Running the following query shows us that the file has been created though

Changing Microsoft script to:
![]()
Fixes that issue, allowing you to rerun apt-get update

Be aware that this is a rather large install (almost 10 GB) and will take several minutes to finish, but after approximately 10 minutes we got the following message:
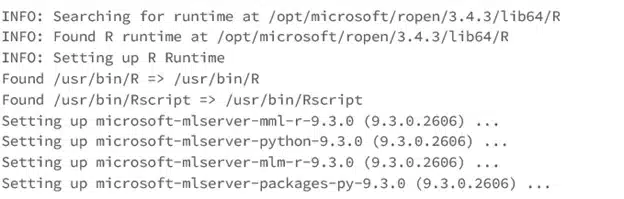
%sh
|
Done!

Crafted by ![]()
Crafted by ![]()


